
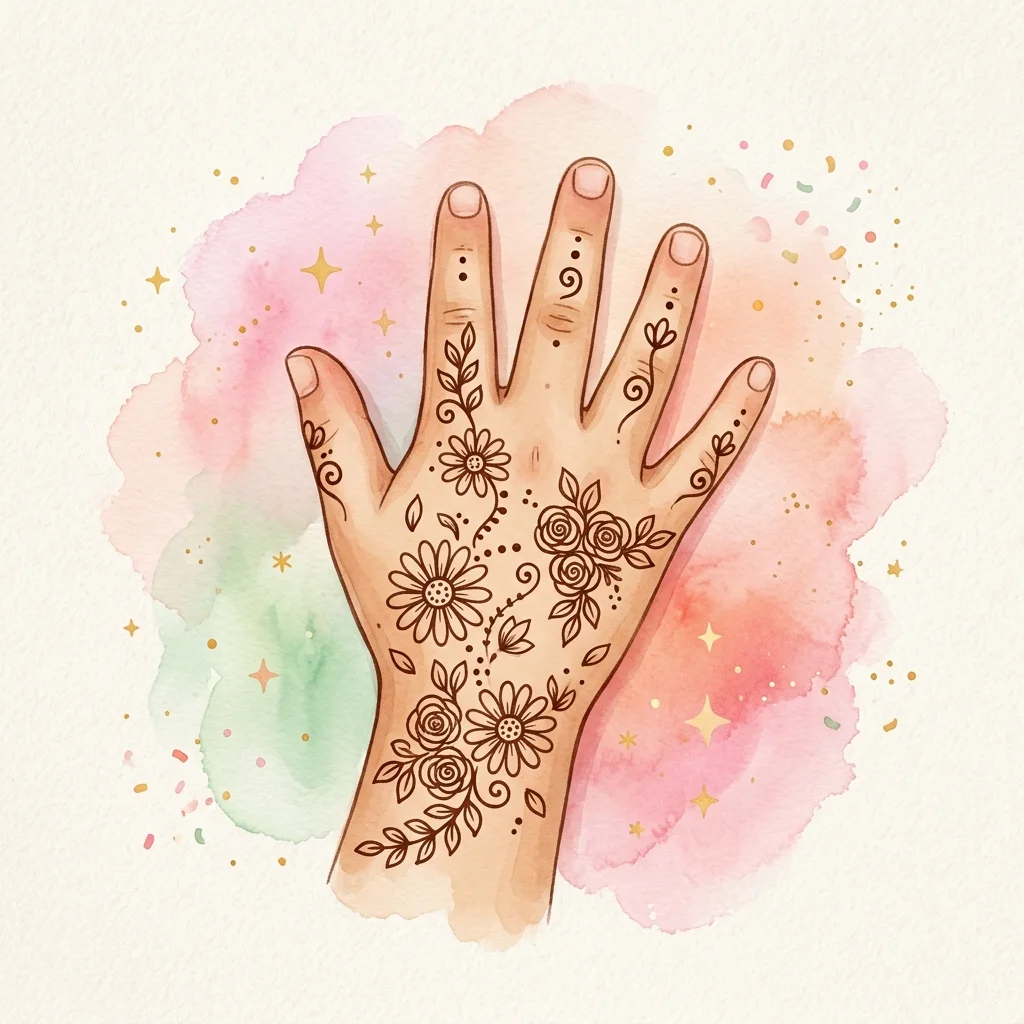
Rainbow and Clouds Mehndi Design
Learn to draw this easy Rainbow and Clouds mehndi design step by step. Perfect for 5-8 years — takes about 8-10 min.

How to draw it
Draw three evenly spaced curved arches across the back of the hand. Start with the outermost arch and work inward, leaving a small gap between each.
At both ends of the rainbow, add fluffy clouds — each drawn as three to four connected bumps forming a cotton ball outline.
In the center space between the arches, draw a small heart as a sweet focal point that breaks up the repetitive pattern.
Scatter four to five small asterisk-shaped stars around the rainbow and clouds for a sky-like, dreamy atmosphere.
Finish with a curved trail of dots and leaves extending from the rainbow toward the middle finger, tapering at the tip.
Practice This Design at Home
Print this worksheet and follow the step-by-step guide to master the design.
- ✓ Printable A4
- ✓ Beginner Friendly
- ✓ No Signup Required
Learn More About This Design
Complete guide, drawing tips, and safety profile
Why Kids Love This Design
Rainbows represent happiness, hope, and magic. Kids love the idea of drawing a colourful arc on their hands, and the fluffy clouds add a dreamy touch. Even though henna is a single colour, the shape of the rainbow is so iconic that children immediately recognise and adore it.
Design Profile
The Story & Tradition of Henna
An ancient art form representing happiness, blessings, and community
Crafted From Nature
Henna (or Mehndi) paste is made from the leaves of the Lawsonia inermis plant. The leaves are ground into a fine powder and mixed with water or tea to create a pure, skin-safe organic paste.
Symbols of Blessing
Traditional henna patterns are rich with symbolism. Circular mandalas represent wholeness, lines represent the path of life, and floral vines represent growth, health, and new beginnings.
Celebration & Joy
Across cultures, henna is applied during festivals, weddings, and family ceremonies. It is a social ritual where families gather, bond, and share wishes of good fortune and happiness.
Dos & Drawing Tips
- Draw the rainbow as three evenly spaced curved arches. Start with the outermost arch and work inward.
- Clouds are simple bumpy shapes — think of a cotton ball outline. Two clouds at each end of the rainbow are enough.
- Place the heart in the center of the rainbow for a focal point.
- Scatter stars in the empty spaces around the rainbow to fill the design.
Common Mistakes
- Drawing the arches too close together, which makes the rainbow look like a single thick line.
- Making the clouds too large, which overwhelms the rainbow.
- Forgetting the finger trail, which leaves the design looking incomplete.
- Drawing the arches unevenly, which makes the rainbow look lopsided.
More designs you might like


Frequently Asked Questions
Can I draw more than three arches in the rainbow?
You can add a fourth arch if the hand is large enough, but three arches are the sweet spot for kids' hands. More arches may make the design too wide and leave no room for clouds and stars.
Can I add a pot of gold at one end?
Yes, a small pot of gold adds a fun leprechaun theme. Draw it as a small half-circle with a few dots inside for gold coins. Place it at one end of the rainbow, replacing one cloud.
Is this design suitable for the front hand?
Yes, the rainbow fits nicely on the palm with the arches curving across the hand. Place the clouds near the wrist and let the finger trail extend toward the middle finger. The flat palm surface makes drawing the arches easier.