
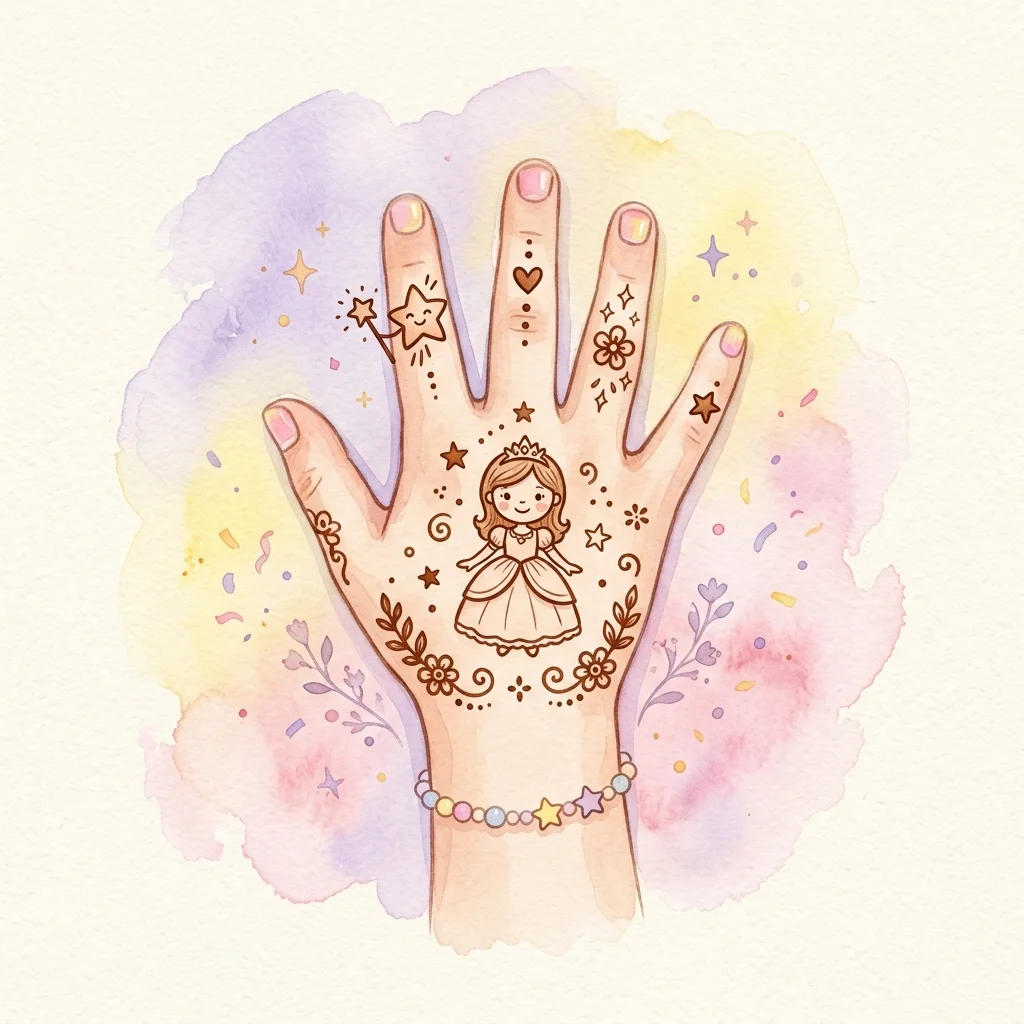
Little Fairy Mehndi Design
Learn to draw this medium Little Fairy mehndi design step by step. Perfect for 6-10 years — takes about 12-15 min.

How to draw it
Draw a small round face with dot eyes, a curved smile, and a small circle on top for a bun hairstyle. The bun gives the fairy a classic, elegant look.
Below the face, sketch a simple A-line dress and two leaf-shaped wings on either side. Keep the wings the same size and symmetrically placed.
From one hand, draw a short straight line for the magic wand with a small star or circle at the tip to represent the magical spark.
Scatter five to six tiny asterisk-shaped stars around the fairy at varying distances for a magical, sparkling atmosphere.
Finish with a curved vine of dots and leaves extending from below the fairy's dress toward the middle finger, tapering at the tip.
Practice This Design at Home
Print this worksheet and follow the step-by-step guide to master the design.
- ✓ Printable A4
- ✓ Beginner Friendly
- ✓ No Signup Required
Learn More About This Design
Complete guide, drawing tips, and safety profile
Why Kids Love This Design
Fairies spark imagination and a sense of wonder. Kids love the idea of a magical being with wings and a wand. The stars scattered around the fairy make it feel enchanting. This design is slightly more detailed, which gives older kids a satisfying creative challenge.
Design Profile
The Story & Tradition of Henna
An ancient art form representing happiness, blessings, and community
Crafted From Nature
Henna (or Mehndi) paste is made from the leaves of the Lawsonia inermis plant. The leaves are ground into a fine powder and mixed with water or tea to create a pure, skin-safe organic paste.
Symbols of Blessing
Traditional henna patterns are rich with symbolism. Circular mandalas represent wholeness, lines represent the path of life, and floral vines represent growth, health, and new beginnings.
Celebration & Joy
Across cultures, henna is applied during festivals, weddings, and family ceremonies. It is a social ritual where families gather, bond, and share wishes of good fortune and happiness.
Dos & Drawing Tips
- Start with the face and bun hairstyle. The bun is a small circle on top of the head.
- Keep the wings simple — two leaf shapes on either side of the body. Detailed wings are hard at this scale.
- The wand is just a straight line with a small star or circle at the tip.
- Draw the stars as simple crosses or dots. Five-pointed stars are harder to execute on skin.
Common Mistakes
- Drawing the wings too large, which overwhelms the fairy's body.
- Making the dress too detailed, which causes smudging as it dries.
- Placing stars too close to the fairy so they blend into the wings.
- Drawing the wand too long, which makes it look like a stick rather than a magic wand.
More designs you might like


Frequently Asked Questions
Can I change the hairstyle of the fairy?
Yes, you can draw the fairy with flowing hair, pigtails, or a ponytail instead of a bun. Each hairstyle gives the fairy a different personality. Flowing hair uses wavy lines, while pigtails are two small circles on either side.
How do I make the stars look magical?
Draw small dots in a scattered pattern around the fairy to create a sparkling effect. You can also add tiny lines radiating from each star to make them look like they are glowing.
Is this design too hard for beginners?
The fairy design is rated Medium difficulty because it has more elements than the Easy designs. However, if you simplify the wings and stars, beginners aged 7 and above can manage it well. Practice on paper first to build confidence.