
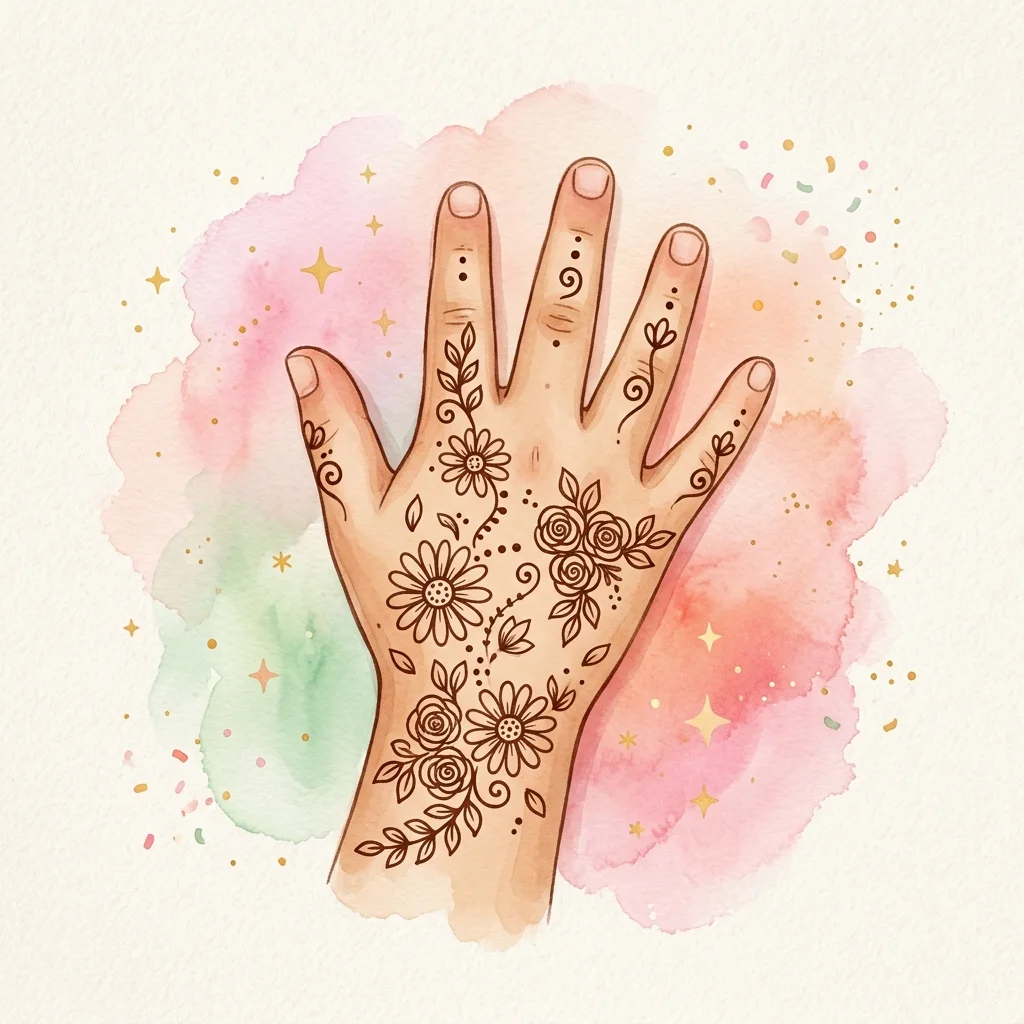
Flower with Leafy Branch Mehndi Design
Learn to draw this easy Flower with Leafy Branch mehndi design step by step. Perfect for 5-10 years — takes about 6-8 min.

How to draw it
Draw a small circle in the center of the palm for the flower's center.
Add five rounded petals around the center, keeping each petal uniform in size.
From the base of the flower, draw a curved branch extending toward the wrist.
Attach three to four oval leaves along the branch, alternating sides for a natural look.
Finish with two small dots near the flower and one dot at the end of the branch for a polished touch.
Practice This Design at Home
Print this worksheet and follow the step-by-step guide to master the design.
- ✓ Printable A4
- ✓ Beginner Friendly
- ✓ No Signup Required
Learn More About This Design
Complete guide, drawing tips, and safety profile
Why Kids Love This Design
The combination of a flower with a leafy branch feels like holding a tiny bouquet on the palm. Kids enjoy the natural look and love how the leaves trail elegantly from the bloom. It is simple enough to complete quickly yet looks refined.
Design Profile
The Story & Tradition of Henna
An ancient art form representing happiness, blessings, and community
Crafted From Nature
Henna (or Mehndi) paste is made from the leaves of the Lawsonia inermis plant. The leaves are ground into a fine powder and mixed with water or tea to create a pure, skin-safe organic paste.
Symbols of Blessing
Traditional henna patterns are rich with symbolism. Circular mandalas represent wholeness, lines represent the path of life, and floral vines represent growth, health, and new beginnings.
Celebration & Joy
Across cultures, henna is applied during festivals, weddings, and family ceremonies. It is a social ritual where families gather, bond, and share wishes of good fortune and happiness.
Dos & Drawing Tips
- Start with the flower center so you have a reference point for the petals.
- Keep the branch as one smooth curved line for a natural, flowing look.
- Alternate leaves on each side of the branch to maintain symmetry.
- Use light pressure for the decorative dots to keep them small and neat.
- Draw the branch first, then add leaves one at a time.
Common Mistakes
- Drawing petals different sizes, making the flower look unbalanced.
- Making the branch too thick, which distracts from the delicate leaves.
- Placing all leaves on one side, creating an uneven composition.
- Adding too many decorative dots that clutter the design.
More designs you might like


Frequently Asked Questions
Can I extend the branch toward the fingers instead of the wrist?
Yes, you can direct the branch toward the middle finger or index finger. This creates a different visual flow while keeping the same simple structure.
Can I add more leaves to the branch?
Absolutely. Adding more leaves creates a lush, garden-like effect. Just ensure they alternate sides and stay evenly spaced for a balanced look.
Does this design work on the back hand?
Yes, place the flower near the wrist and let the branch trail toward the middle finger. The design looks equally beautiful on both sides of the hand.