
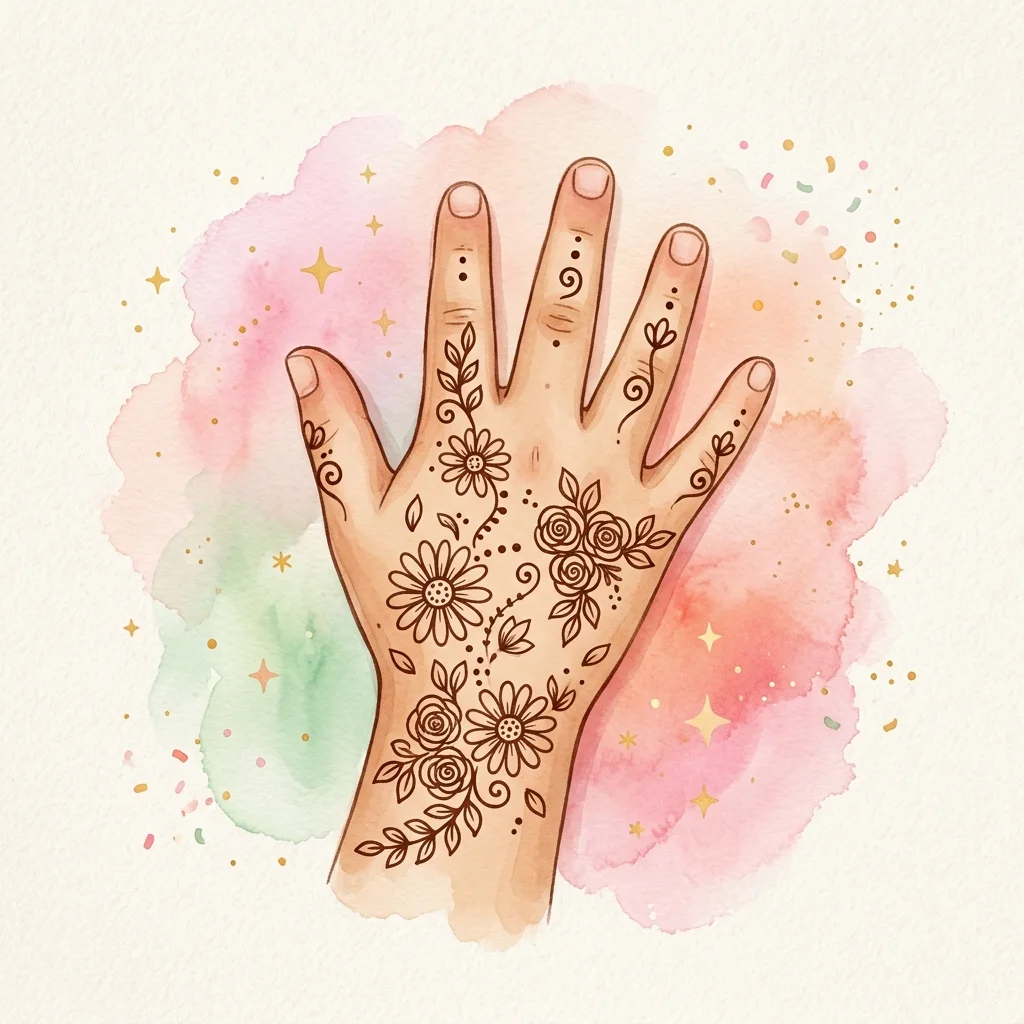
Butterfly Bliss Mehndi Design
Learn to draw this easy Butterfly Bliss mehndi design step by step. Perfect for 5-10 years — takes about 8-10 min.

How to draw it
Draw a small vertical oval for the body, a tiny circle for the head, and two thin curved antennae with dots at the tips.
Add the top two wings as large rounded shapes, then the bottom two as slightly smaller rounds. Top wings should be about 20% larger for a natural look.
Place three to four small dots inside each wing, following the wing's curve. This adds a decorative pattern without being complicated.
Scatter two to three tiny hearts above and below the butterfly in the empty spaces for a playful, loveable touch.
Complete the design with a curved trail of dots and leaves extending from below the butterfly toward the middle finger, tapering at the tip.
Practice This Design at Home
Print this worksheet and follow the step-by-step guide to master the design.
- ✓ Printable A4
- ✓ Beginner Friendly
- ✓ No Signup Required
Learn More About This Design
Complete guide, drawing tips, and safety profile
Why Kids Love This Design
Butterflies are one of nature's most beautiful creatures, and this design captures their elegance in a simple way. The dotted wings are fun to create — each dot is like a tiny treasure. Kids love how symmetrical the wings look and enjoy personalising the dot patterns to make their butterfly unique.
Design Profile
The Story & Tradition of Henna
An ancient art form representing happiness, blessings, and community
Crafted From Nature
Henna (or Mehndi) paste is made from the leaves of the Lawsonia inermis plant. The leaves are ground into a fine powder and mixed with water or tea to create a pure, skin-safe organic paste.
Symbols of Blessing
Traditional henna patterns are rich with symbolism. Circular mandalas represent wholeness, lines represent the path of life, and floral vines represent growth, health, and new beginnings.
Celebration & Joy
Across cultures, henna is applied during festivals, weddings, and family ceremonies. It is a social ritual where families gather, bond, and share wishes of good fortune and happiness.
Dos & Drawing Tips
- Draw the body first as a simple oval. This anchors the entire design and helps you position the wings evenly.
- Make the top wings slightly larger than the bottom wings for a natural butterfly shape.
- Place dots inside the wings while the henna is still wet so they sink in smoothly.
- Curl the antennae outward, not inward, to give the butterfly a lively look.
Common Mistakes
- Drawing wings that are different sizes, making the butterfly look lopsided.
- Making the body too long, which stretches the design and leaves less room for the finger trail.
- Placing dots too close together so they merge into a blob.
- Drawing antennae straight up instead of curling them, which looks stiff.
More designs you might like


Frequently Asked Questions
Can I make the butterfly bigger to fill more of the hand?
Yes, you can enlarge the wings and add more dots or small patterns inside them. For older kids with larger hands, a bigger butterfly with detailed wing patterns looks stunning. Just keep the finger trail proportionally smaller.
What if the dots smear while drying?
Keep the hand flat and still for the first 5 to 10 minutes after application. If a dot smears, gently touch it up with the cone tip before it dries. Once dry, do not touch the design until you are ready to scrape it off.
Can I add flowers around the butterfly?
Absolutely! Small three-petal flowers or leaf clusters around the butterfly add a garden feel. Place them in the empty spaces near the wrist or beside the finger trail for a balanced look.